 For the last two days, I have had the studio to myself! - Whilst I do enjoy the hubbub of the busy studio, the majority of my peers have been away for the last couple of days on a Gallery / London visit. As I had a funeral to attend to on Thursday of a dear friend, I chose not to join them as I am planning additional gallery visits anyway.
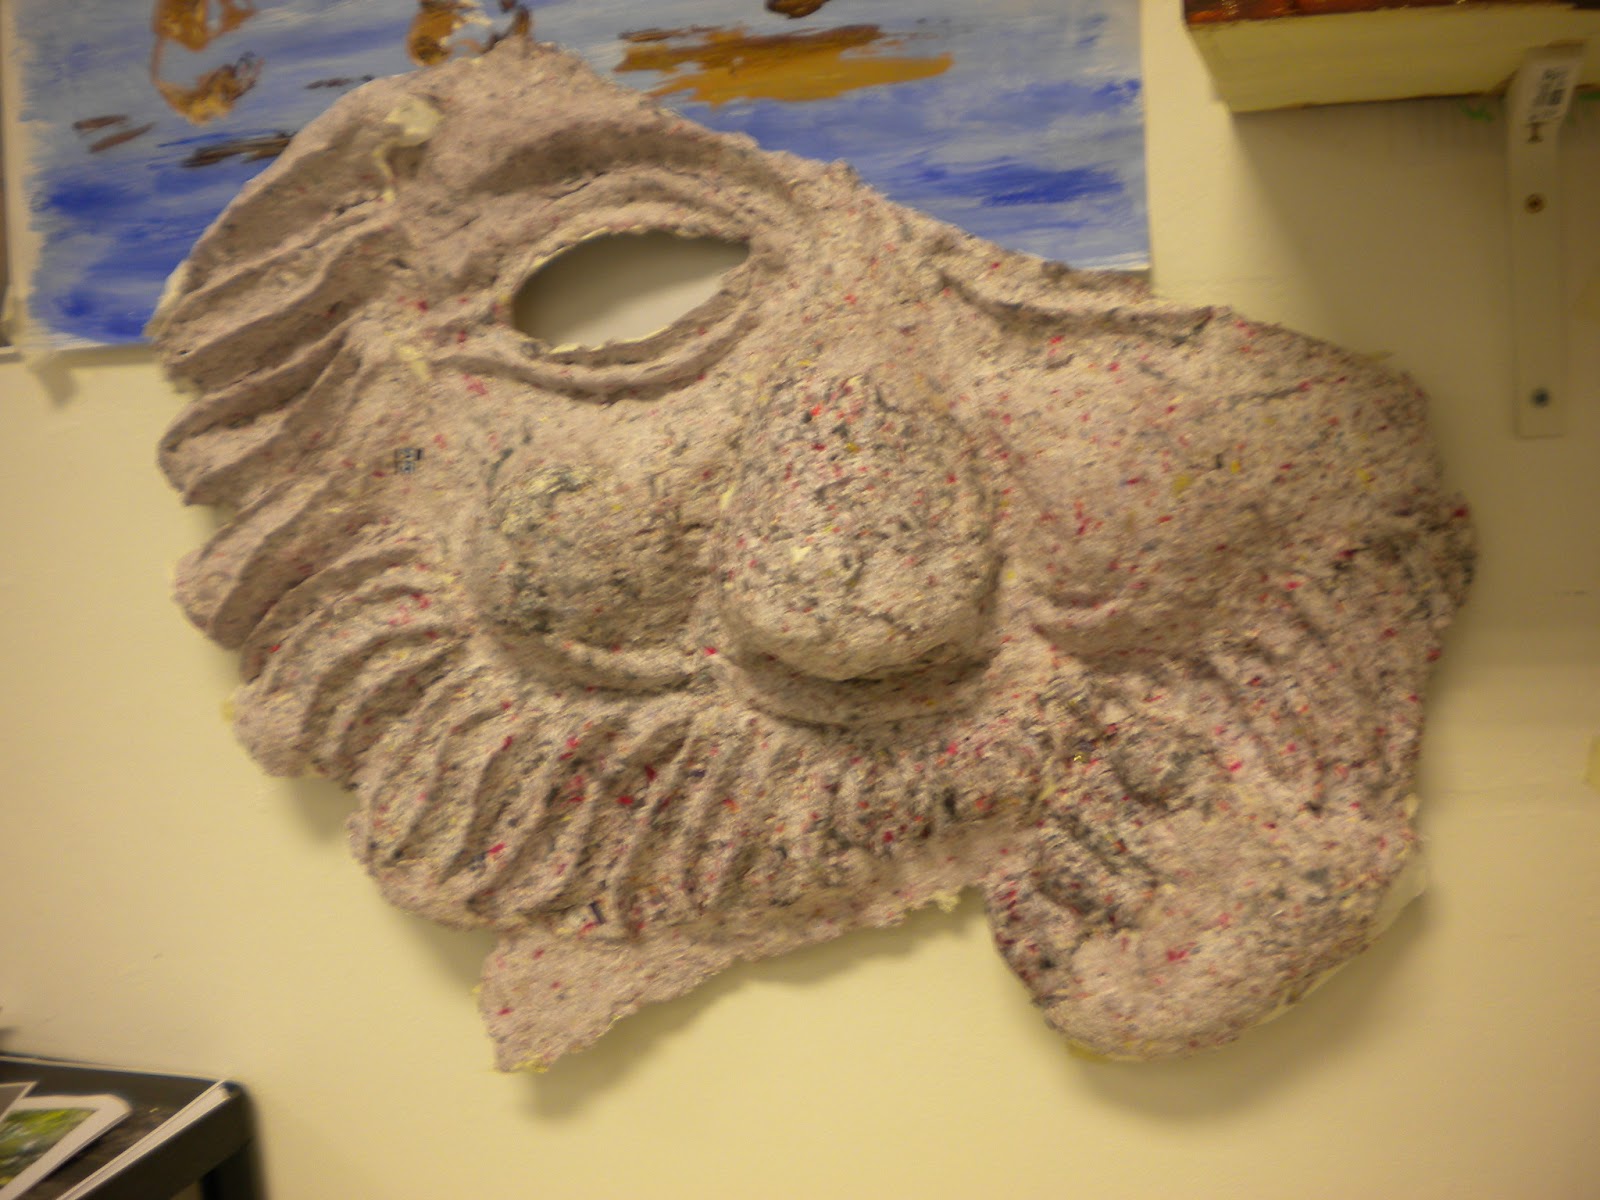
 Working on my Maquette of the fragment of gnome, I continued to use the papier-mache mixed together with the lint or felt type by-product from a tumble dryer. The material is particularly malleable whilst damp, and it was clear that the time it requires to dry is very much based on the solution ratio of water to wallpaper paste.
For the next larger object, I think I will be better creating a solution with the dry style wallpaper paste and mixing it completely with water together with the paper and lint in one action. The current method I have been using is to use pre-mixed wallpaper paste and I found that this is perhaps too thick and sticky to mix with the paper on its own.
Conclusions;
 By using the chicken wire with a fine mesh of 15 mm hexagon, my conclusion is that I will continue to use this as a substrate for the base of the larger model, and I will create a frame made from wooden batons in order to fix the larger wire "scaffolding" to the wood.
The first coat of papier-mache, needed to cover this initial "skeleton", needs to be applied with quite large pieces or strips of paper, measuring approximately 1" x 6". This creates the initial surface onto which a finer grade of papier-mache (made from shredded confidential waste paper) can then be applied.

I'm happy with the process so far as I think that the method I'm using is quite robust and capable of being adapted to create a much larger work, some three or four times as big as my original maquette I have created here. When making the larger version and using the dried form of wallpaper paste I will ensure that the rear fixings to the sculpture are pre-attached to the wooden frame prior to continuing to fabricate the wire mesh on top.
No comments:
Post a Comment